
Roof Framing Explained: How Your Roof Is Built
Posted 5.15.2025 | 7 Minute Read
Your roof is one of the most critical elements of your home. But have you ever wondered what goes into creating the structure that protects you from the elements? Roof framing is the foundation of any roof, and understanding the process can help you appreciate the craftsmanship behind your home’s protective covering.
This blog explains what roof framing is, its various components, and how it’s done step by step. Here’s what you’ll learn in this guide:
- What roof framing is and why it matters
- A step-by-step guide on how to frame a roof
- Common mistakes and how to avoid them
🤔 What Is Roof Framing and Why It Matters

At its core, roof framing is the process of constructing the framework of your roof. This framework is designed to support the roof covering and ensure the safety and stability of your home. Whether you’re building a new home or replacing an old roof, proper framing ensures durability, water resistance, and the ability to withstand harsh weather conditions like heavy rain and high winds.
The way a roof is framed also determines its shape, slope, and overall aesthetic. From gable to hip roofs, the method of framing varies depending on the style, materials, and specific structural needs.
Key Components of Roof Framing
Roof framing may seem complex at first glance, but breaking it down into its components makes it easier to understand. Here are the key parts involved:
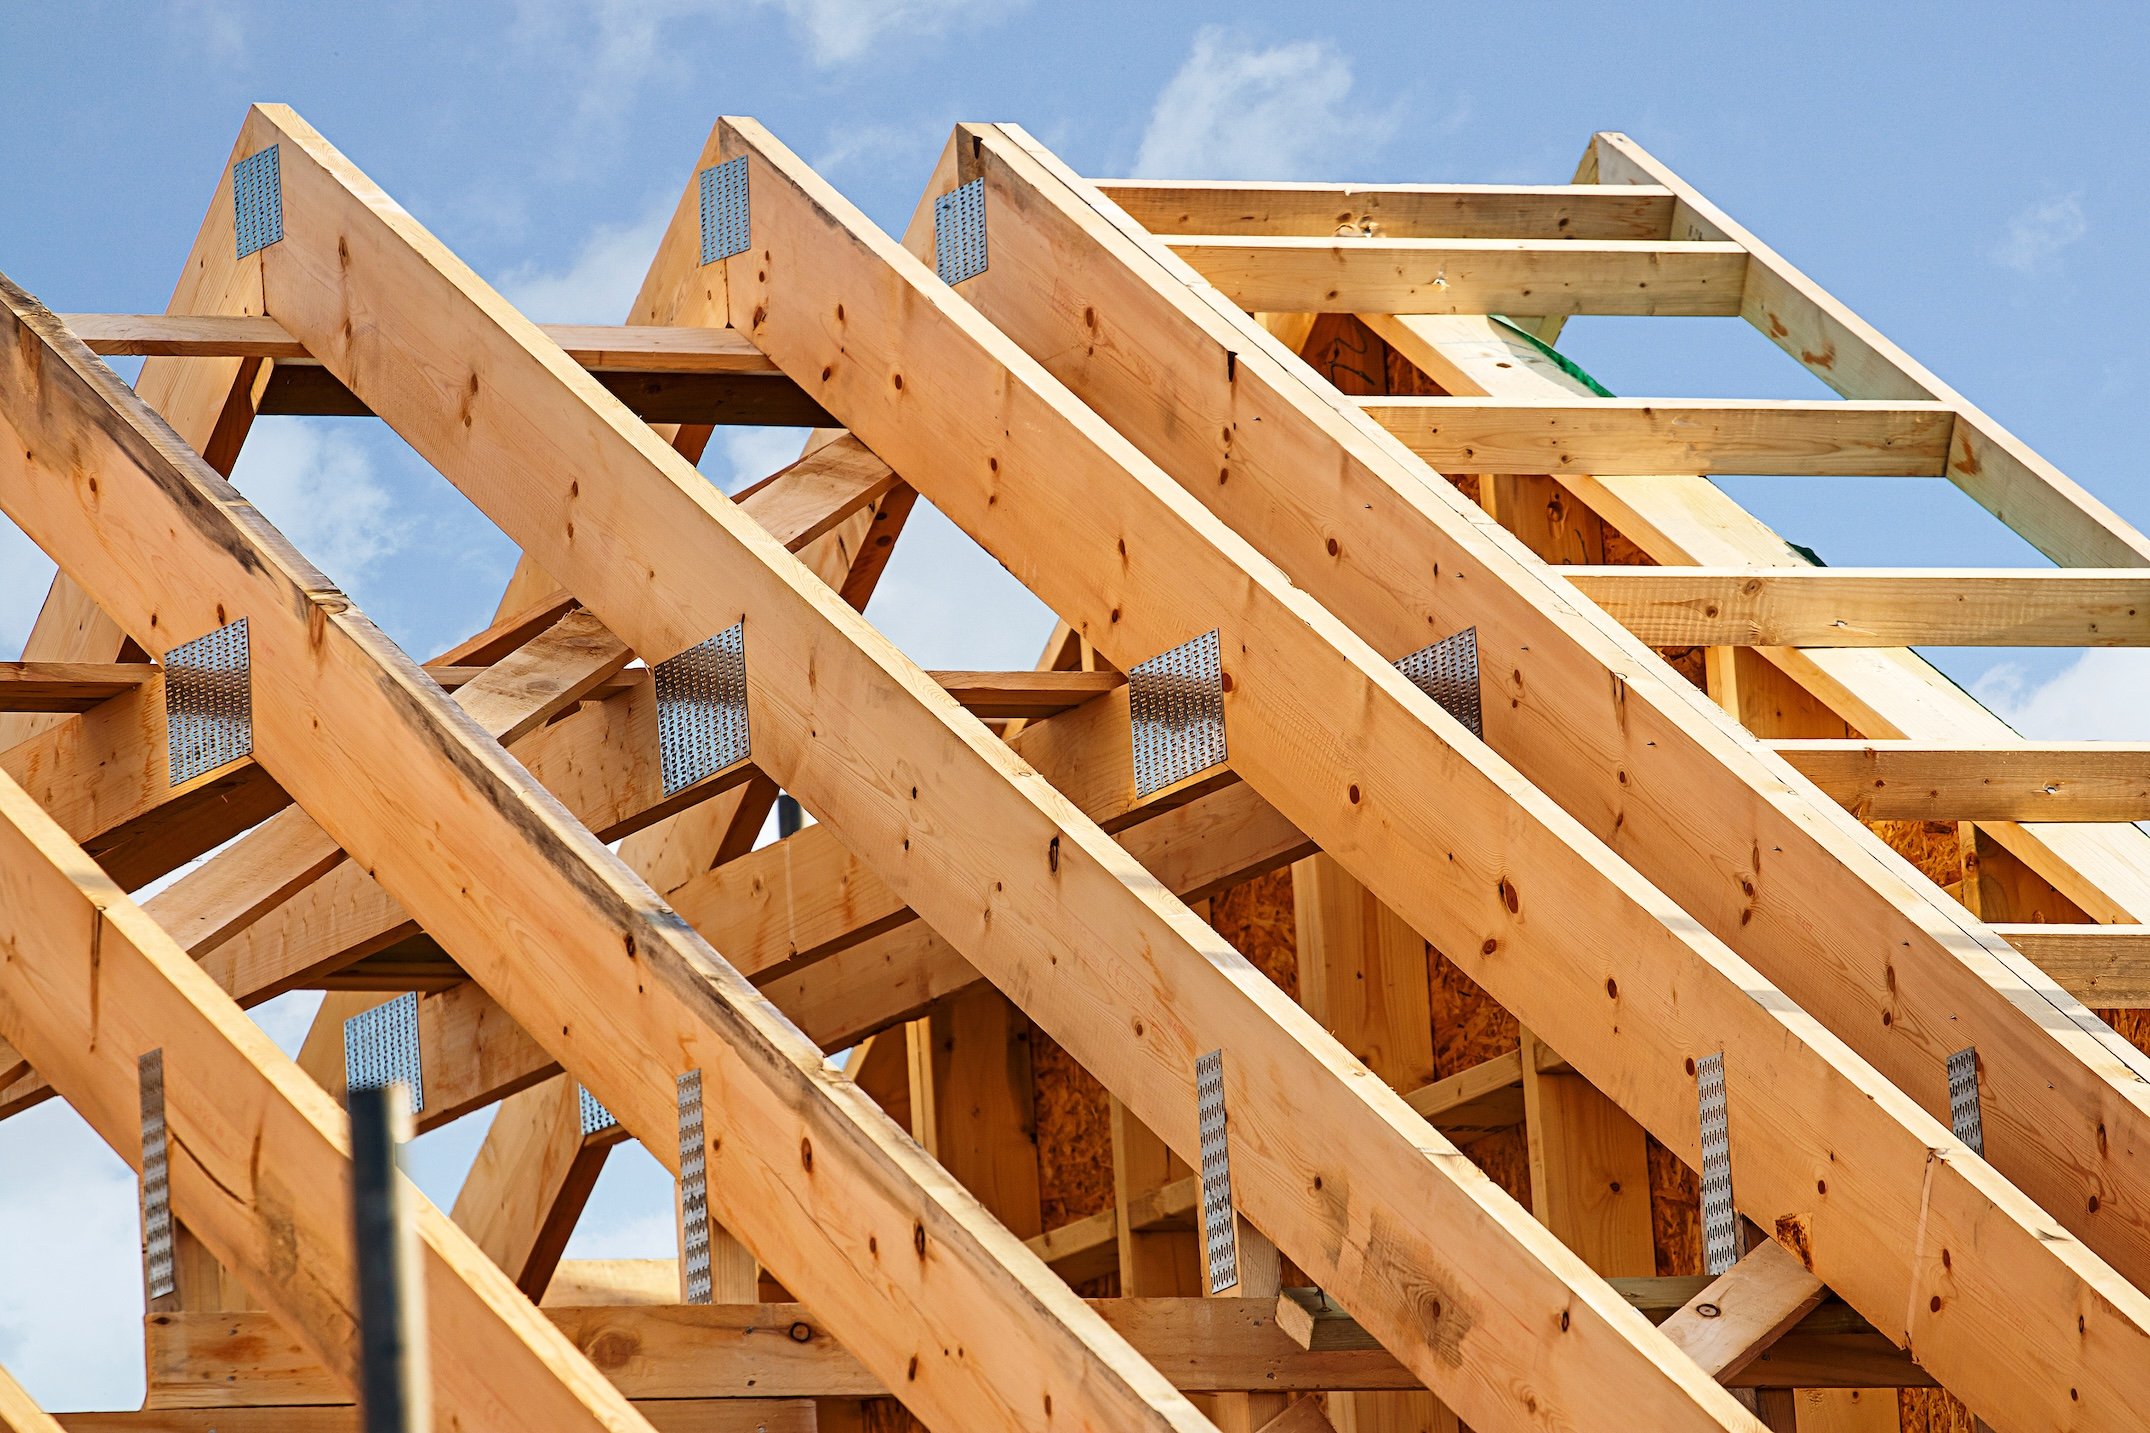
- Rafters: Sloped wooden beams supporting the roof covering, running from the ridge at the top down to the walls.
- Ridge Board: The central anchor point at the roof’s peak where rafters connect.
- Ceiling Joists: Horizontal beams parallel to rafters, counteracting outward force and maintaining structural integrity.
- Trusses: Triangular prefabricated structures made of wood or steel, offering an alternative to rafters and ridge boards.
- Collar Ties: Horizontal beams near the top of rafters, preventing outward pressure on walls.
- Sheathing: Boards or panels attached to rafters, creating a base for materials like shingles or tiles.
✅ 6 Steps to Frame a Roof

Roof framing is a detailed process that requires precision, planning, and execution. Here’s how it’s done, step by step:
1. Understand the Roof Design
Before you start construction, it’s essential to fully understand the roof design. This begins with a detailed blueprint or design plan created by an architect or designer. The roof’s shape, slope, and load-bearing requirements are determined based on the building’s purpose and the climate it will need to withstand. For example, roofs in snowy regions often require steeper slopes to prevent snow accumulation, while flat roofs are more common in arid areas. Taking the time to analyze the design ensures the roof will perform effectively and meet structural safety standards.
2. Gather Tools and Prepare the Site
Having the right materials and tools is crucial for efficient roof construction. Gather essentials such as lumber, nails, screws, a saw, a level, fasteners, and safety gear like helmets and harnesses. Double-check your inventory to make sure nothing is missing. Next, prepare the construction site by clearing away debris and setting up a safe working environment. This may include erecting scaffolding, setting up ladders securely, and marking off hazardous areas. Proper preparation helps prevent accidents and ensures smoother progress as you build.
3. Construct and Install the Ridge Board
The ridge board serves as the backbone of the roof frame and is installed at the highest point of the structure, acting as a support for the rafters. Start by measuring and cutting the ridge board to the appropriate length based on the roof’s design. Carefully position it at the roof’s peak, ensuring it is level and properly aligned. Secure the ridge board firmly in place, as this will directly impact the roof’s structural integrity. A strong, accurately installed ridge board sets the foundation for the rest of the frame.
4. Attach Rafters to the Ridge Board
Rafters are the sloped beams that connect the ridge board to the walls, forming the basic skeleton of the roof. Each rafter must be accurately measured and cut to match the design specifications. Begin by attaching the rafters to the ridge board, ensuring they are evenly spaced and securely fastened. Use a level to check the alignment and make adjustments as needed. Properly installed rafters not only support the weight of the roof covering but also transfer loads to the walls and foundation, making precise installation critical.
5. Install Collar Ties and Ceiling Joists
To reinforce the roof’s stability, you’ll need to add collar ties and ceiling joists. Collar ties are horizontal beams that connect opposing rafters near the ridge board, preventing the rafters from spreading apart under pressure. Ceiling joists, on the other hand, run horizontally along the bottom of the rafters and help support the roof while creating a base for the ceiling below. When installing these elements, ensure they are securely fastened and spaced according to the design plan. This additional reinforcement helps the roof withstand forces like wind and heavy snow.
6. Add Sheathing
Once the frame is complete, the next step is to attach the sheathing. Sheathing consists of large, flat panels—typically made from plywood or oriented strand board (OSB)—that cover the rafters and create a solid base for the roof covering. Carefully measure and cut the panels to fit, then nail them to the rafters, leaving a small gap between panels for expansion. The sheathing not only supports the roof covering but also protects the interior from wind, water, and other environmental elements. Opt for high-quality, durable materials to ensure long-term performance.
👉 Common Mistakes to Avoid in Roof Framing

Even the best-laid plans can go wrong without attention to detail. Here are some common mistakes and ways to avoid them:
Incorrect Measurements
Precision is absolutely critical in roof framing. Even the smallest miscalculation can throw off the entire structure, leading to gaps, instability, or materials that don’t fit as intended. Always double or even triple-check your measurements before cutting any materials. Taking the time to measure accurately can save you from costly mistakes and wasted materials later on.
Poor-Quality Materials
Using low-quality materials may save you money upfront, but it can seriously compromise the strength and longevity of the roof. Poor-quality wood or trusses are more prone to warping, cracking, or breaking under pressure. Always invest in high-quality wood, engineered lumber, or prefabricated trusses to ensure the roof remains durable and secure over time. Quality materials are the foundation of a reliable structure.
Improper Spacing
Even spacing between rafters and joists is essential for balanced weight distribution across the roof. Misaligned or unevenly spaced components can create weak points, leading to structural failures or sagging areas. Make sure to follow precise spacing guidelines outlined in your building plans and codes to avoid long-term damage and ensure the roof can handle loads effectively.
Weak Connections
The strength of the roof frame depends heavily on the quality of its fasteners and joints. Using improper or insufficient connections can result in parts of the frame coming loose over time, causing sagging or even collapse under pressure. Always use the appropriate nails, screws, brackets, or specialized fasteners for your roof design. Pay close attention to securing each joint tightly to create a stable and secure structure that can withstand both time and weather conditions.
🏠 Roof Framing Guide
At Coastal Roofing, we understand that roof framing is more than just a structural necessity—it’s the foundation of your home’s safety and durability. With decades of experience, custom solutions tailored to your vision, and an unwavering commitment to quality, our team is the one you can trust to get the job done right.
Whether you’re starting a new build or enhancing your current roof, we’re here to provide expert craftsmanship and a seamless process from start to finish. Don’t leave your roofing needs to chance—contact Coastal Roofing today for a free consultation.
Recent Articles
Check Out Our Blog
