
Tile Roof Installation in Florida: Complete 7-Step Professional Guide
Posted 1.07.2026 | 7 Minute Read
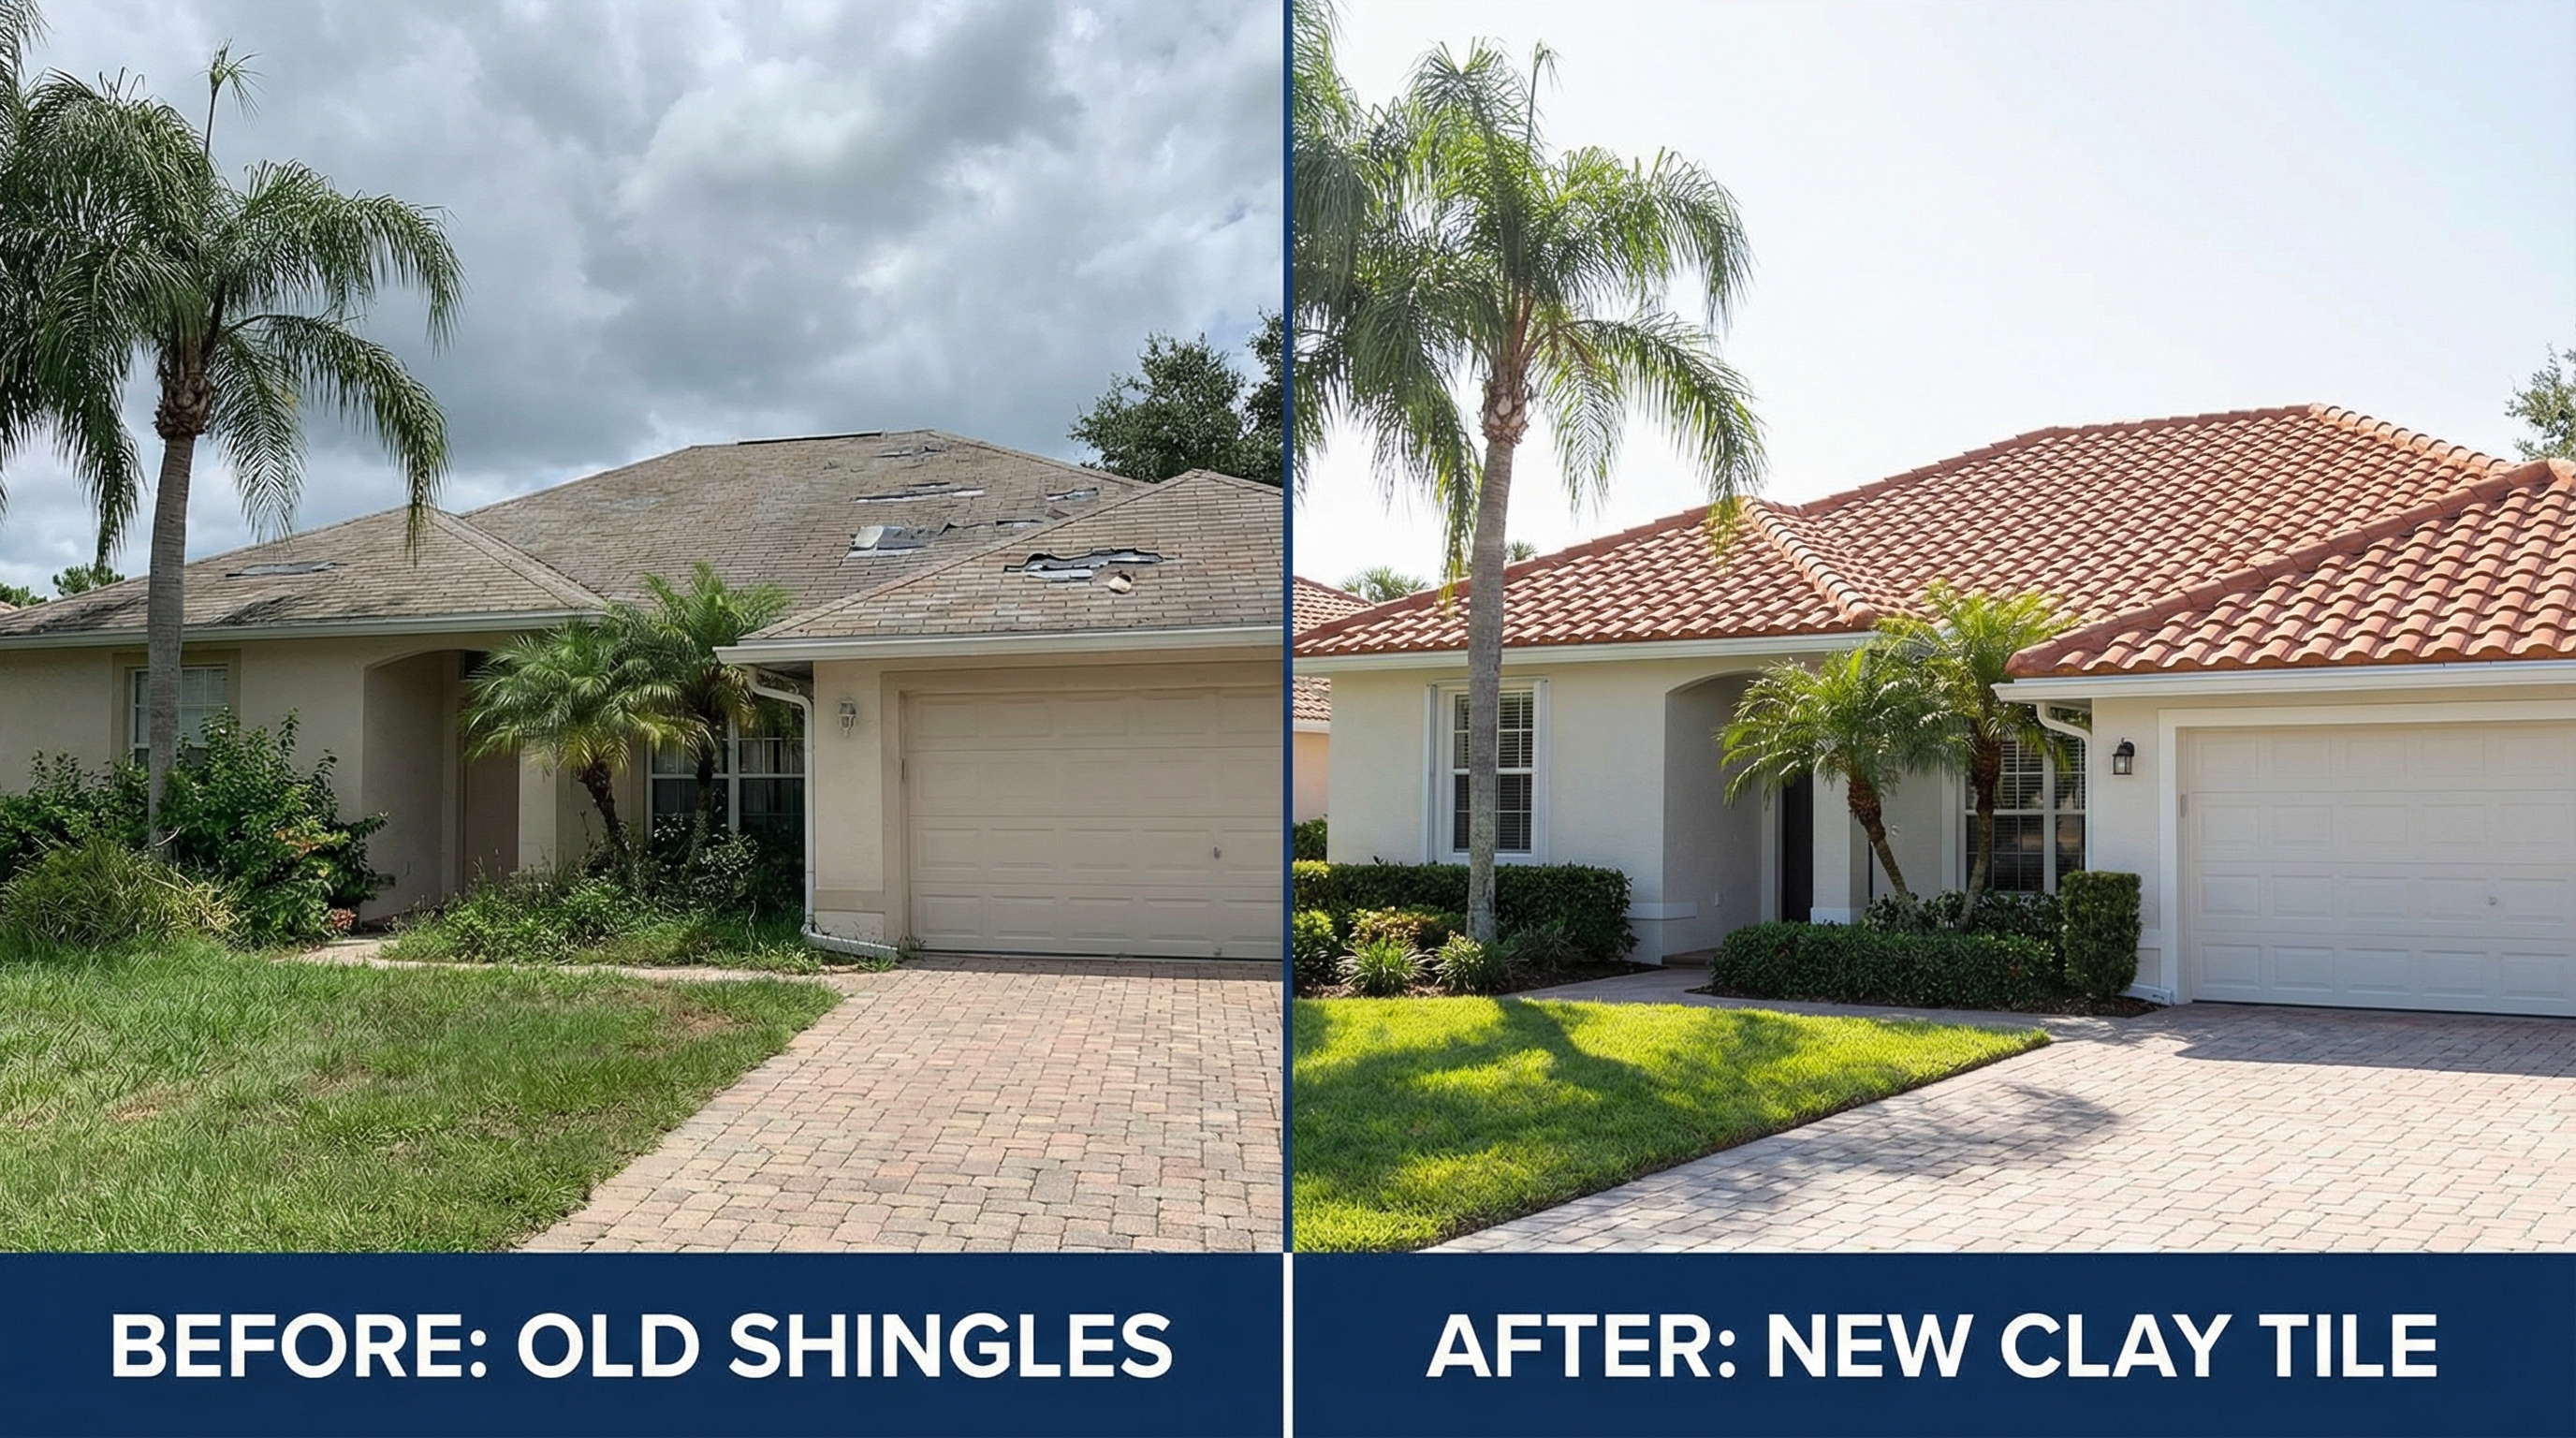
If you’re considering a tile roof for your Florida home, you’re making a smart choice for hurricane protection and long-term value. Tile roofs can withstand winds up to 150 mph and last over 50 years in Florida’s challenging climate, making them one of the most durable roofing options available. However, proper installation is crucial for achieving these benefits.
The tile roof installation process involves seven critical steps that require professional expertise and specialized knowledge of Florida building codes. From initial tear-off to final inspection, each phase plays a vital role in ensuring your roof performs optimally against hurricanes, heavy rains, and intense UV exposure that characterize Florida weather.
Understanding what happens during installation helps you make informed decisions and know what to expect when working with roofing contractors. Let’s walk through the complete process so you can feel confident about your investment.
Why tile roofs excel in Florida’s climate
Florida’s unique weather patterns make tile roofing an exceptional choice for homeowners seeking durability and protection. The state’s combination of hurricane-force winds, torrential rains, and year-round UV exposure demands roofing materials that can handle extreme conditions.
Clay and concrete tiles offer superior wind resistance compared to traditional shingles. Their interlocking design and substantial weight help them stay secure during storms, while their thermal properties provide excellent insulation against Florida’s intense heat. Many insurance companies recognize these benefits by offering discounts for tile roof installations.
Pro tip: Tile roofs can reduce cooling costs by up to 20% in Florida due to their natural ventilation properties and heat reflection capabilities.
The aesthetic appeal of tile roofing also enhances property values throughout Florida. Spanish and Mediterranean-style tiles complement the state’s architectural heritage while providing modern performance standards that meet current building codes.
Understanding tile roof installation costs in Florida
The investment in tile roof installation varies based on several factors specific to Florida’s market conditions and building requirements. Material costs typically range from $9 to $20 per square foot, with labor adding another $5 to $10 per square foot depending on roof complexity. For a comprehensive breakdown of pricing, check out our detailed guide on average tile roof costs in Florida.
| Tile Type | Material Cost per Sq Ft | Total Installation Cost |
|---|---|---|
| Concrete | $7-$15 | $12-$25 |
| Clay | $9-$20 | $14-$30 |
| Spanish Style | $10-$18 | $15-$28 |
Several factors influence your final cost including roof pitch, accessibility, existing roof condition, and local permit requirements. Steep roofs or homes with multiple dormers and chimneys require additional labor and safety measures. Florida’s hurricane building codes also mandate specific installation techniques that may increase costs but provide essential storm protection.
Many homeowners find that financing options make tile roof installation more accessible. The long-term savings on energy bills and reduced maintenance costs often offset the initial investment within 10-15 years. When deciding between materials, understanding the differences between clay and concrete roofing tiles can help you make the best choice for your budget and aesthetic preferences.
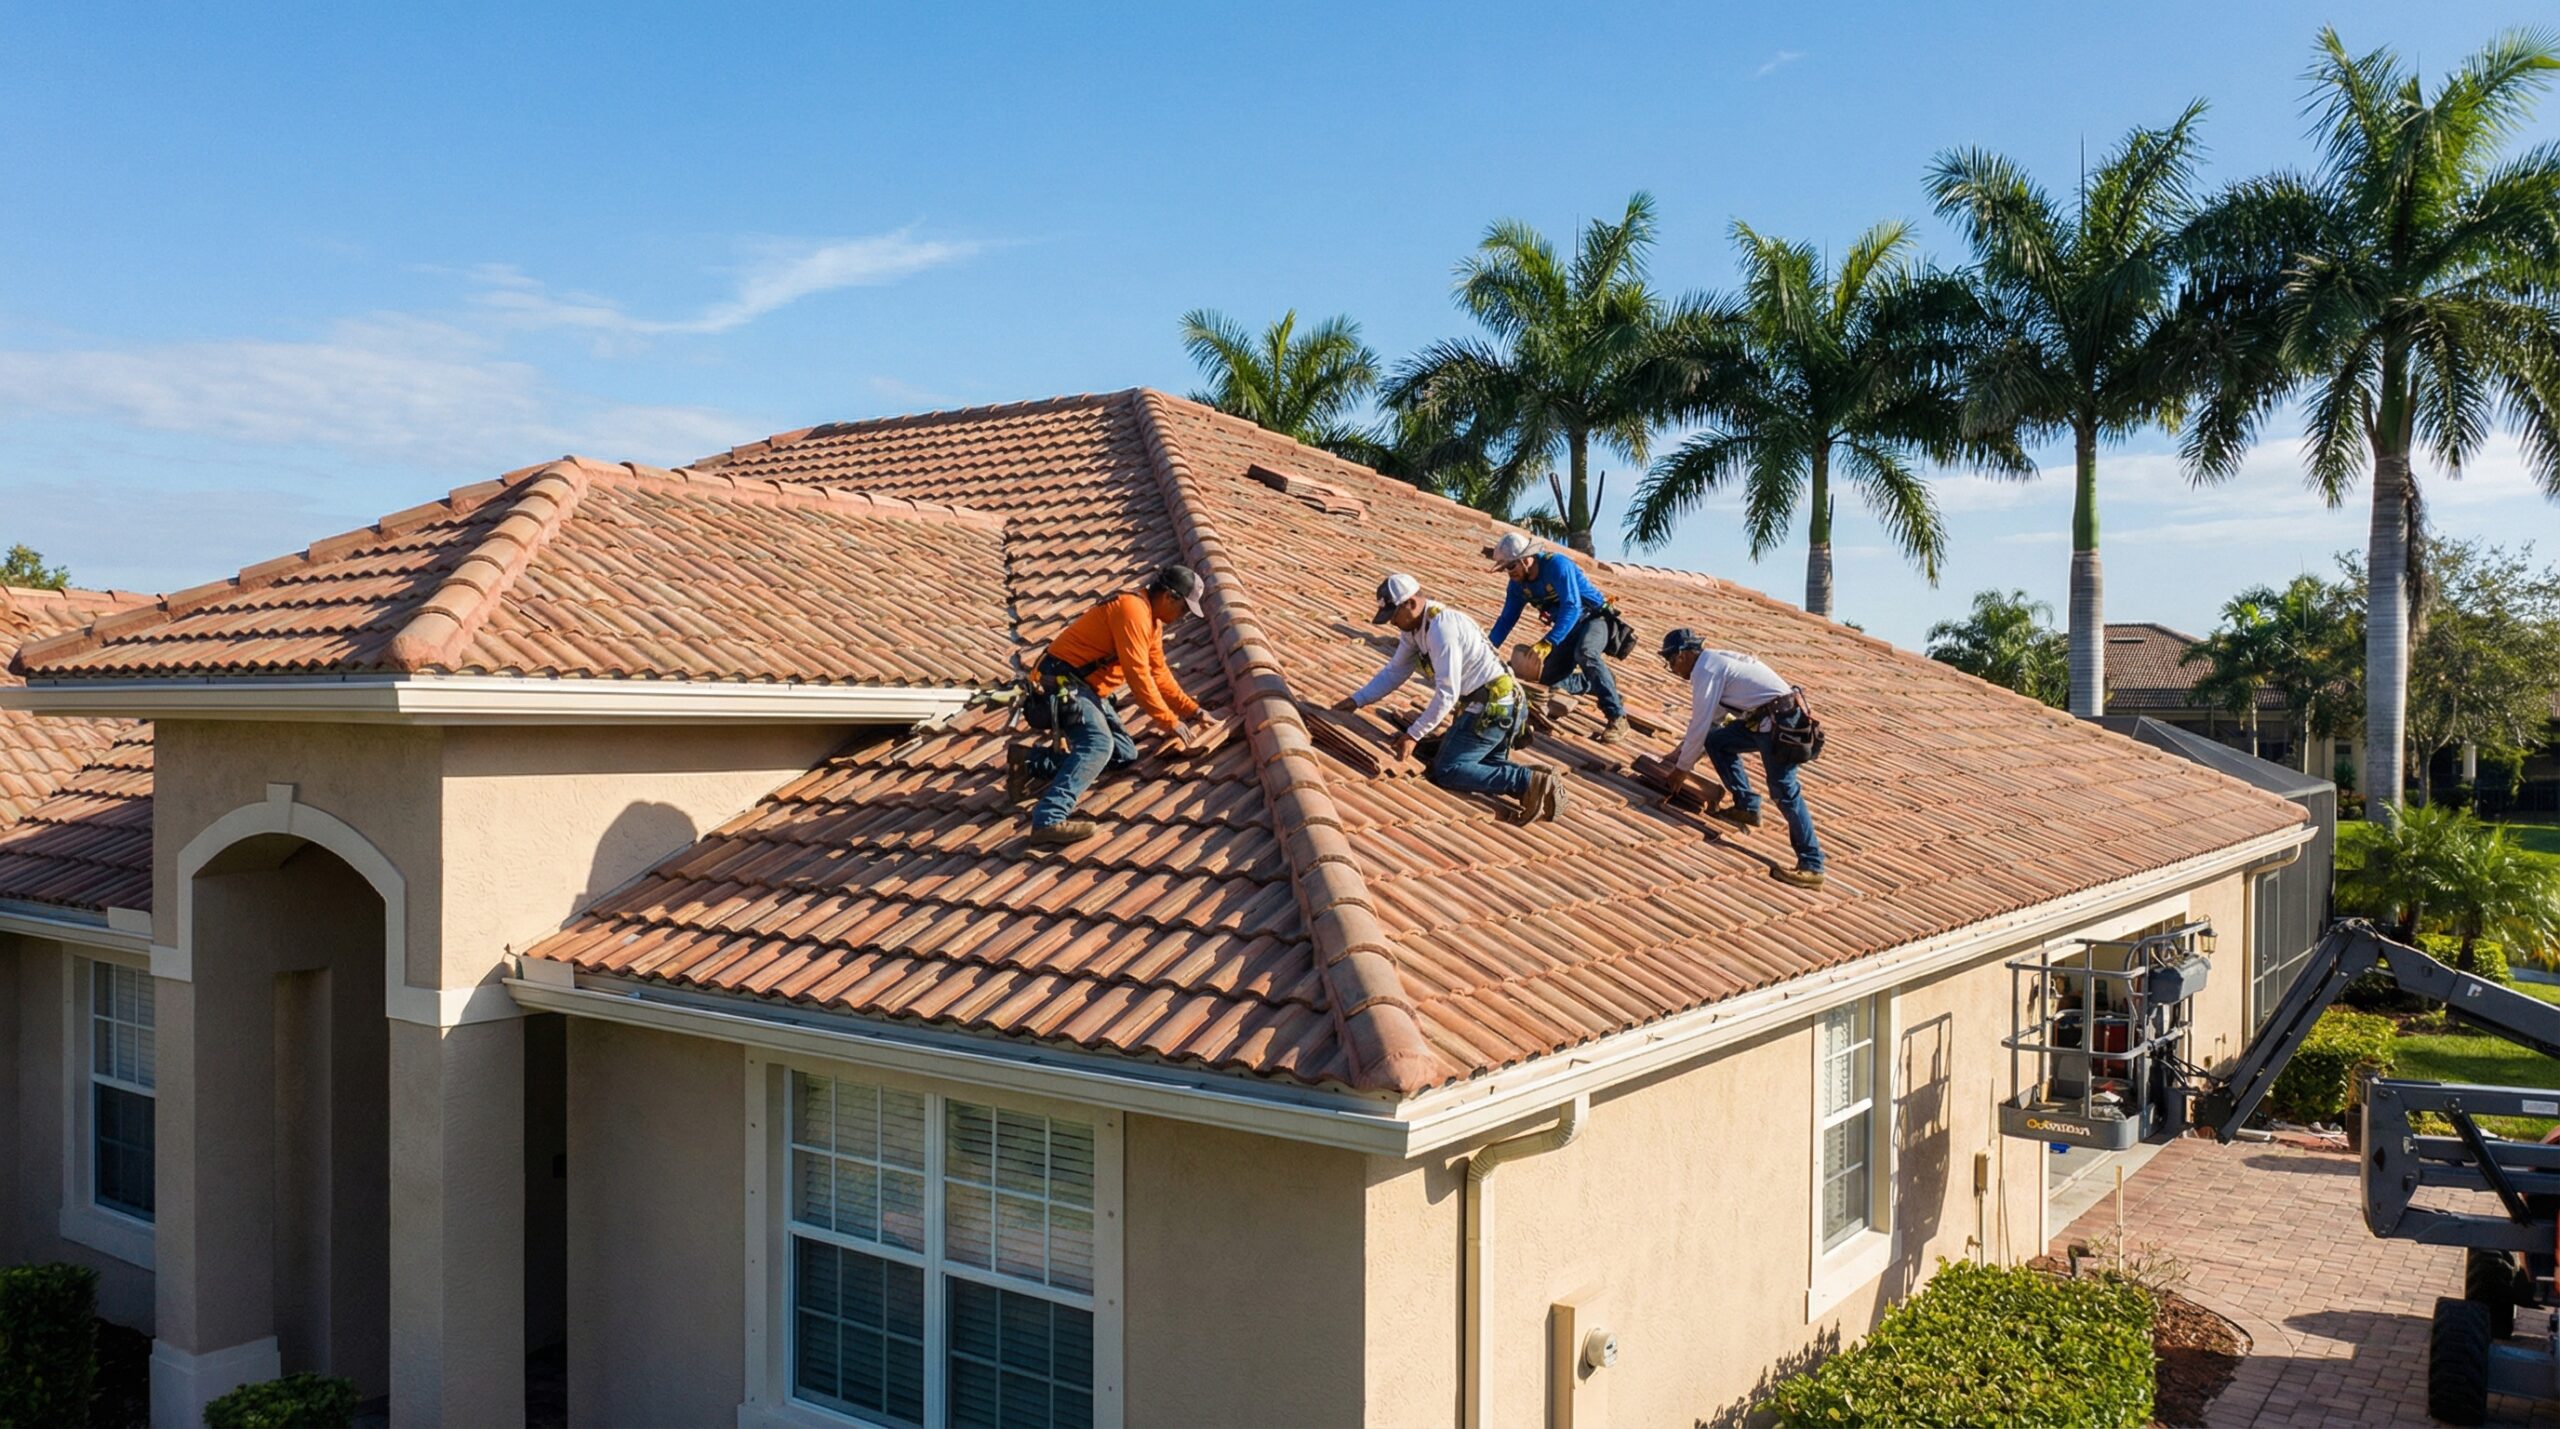
The complete 7-step installation process
Professional tile roof installation follows a systematic approach that ensures optimal performance and longevity. Each step builds upon the previous one, creating a comprehensive roofing system designed to protect your home for decades.
Step 1: Roof tear-off and deck inspection begins the process by removing existing materials and evaluating structural integrity. Contractors examine decking for water damage, rot, or structural issues that could compromise the new installation. Any damaged sections require replacement to provide a solid foundation.
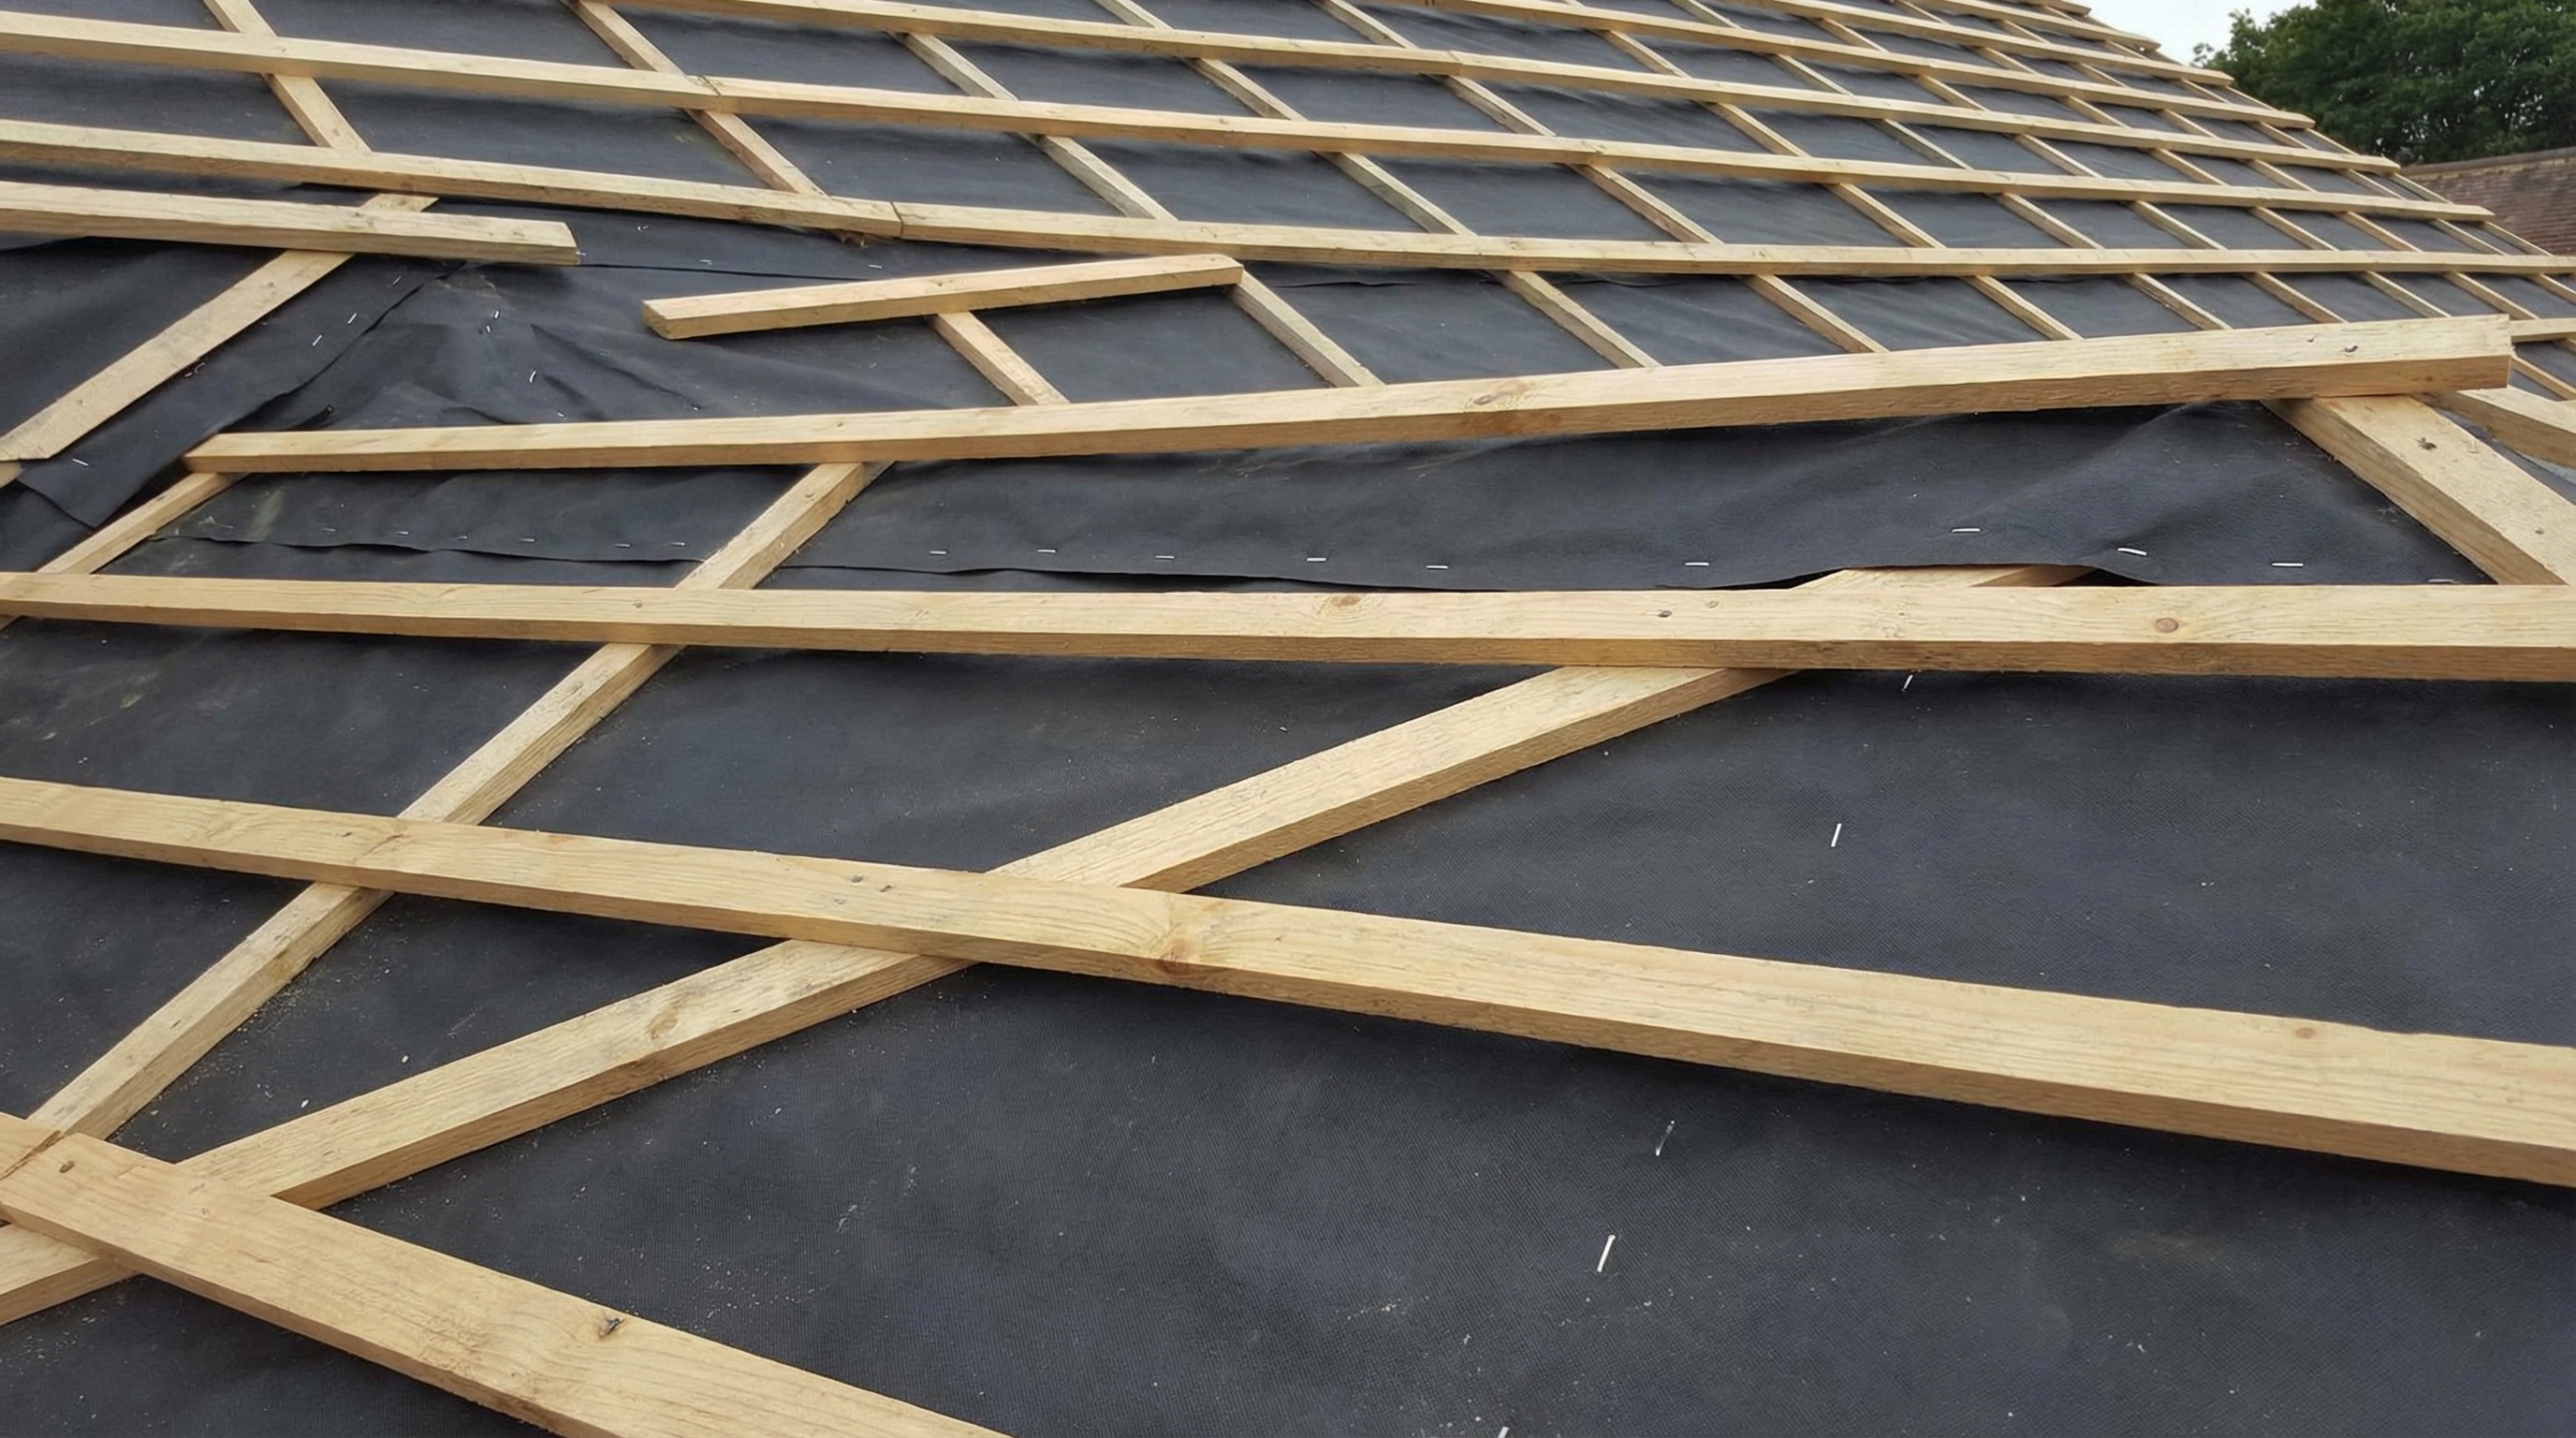
Step 2: Installing water-resistant underlayment creates the primary barrier against moisture intrusion. Florida building codes require high-quality underlayment that can withstand wind-driven rain, which commonly occurs during hurricanes and severe thunderstorms.
Step 3: Planning tile layout involves marking guidelines and calculating tile placement to ensure proper alignment and water flow. This step prevents installation errors that could lead to leaks or aesthetic issues.
Important: Proper tile overlap is crucial in Florida, where wind-driven rain can force water underneath improperly installed tiles.
Step 4: Installing starter and field tiles begins at the eaves and works upward in systematic rows. Each tile must be properly secured according to Florida’s wind load requirements, which often exceed standards in other states. If you’re considering terracotta roofing tiles for your Florida home, this step requires special attention to their unique installation requirements.
Step 5: Ridge and hip tile installation protects the most vulnerable areas of your roof where different planes meet. These specialized tiles require careful sealing and mechanical fastening to prevent wind uplift.
Step 6: Flashing installation around chimneys, vents, and other penetrations ensures water-tight seals. Florida’s intense rainfall makes proper flashing critical for preventing leaks that could cause extensive interior damage.
Step 7: Cleanup and final inspection completes the process with thorough debris removal and official building department approval. Professional contractors use magnetic sweepers to ensure no nails remain on your property, protecting vehicles and family members.
Professional installation versus DIY considerations
While DIY tile roof installation might seem cost-effective, Florida’s specific challenges make professional installation essential for most homeowners. The state’s building codes require specific techniques and materials that ensure hurricane resistance, and improper installation can void insurance coverage.
Professional roofers understand Florida’s wind load requirements, proper fastening techniques, and local permit processes. They also carry insurance that protects homeowners from liability during installation. Most importantly, professional installation comes with warranties that protect your investment.
The complexity of tile installation, combined with safety risks and potential insurance implications, makes professional installation the recommended choice for Florida homeowners. The expertise and peace of mind provided by experienced contractors typically outweigh any potential savings from DIY approaches. Once your roof is installed, you might also consider whether painting roof tiles in Florida is a worthwhile option for refreshing your home’s appearance down the road.
Choosing the right tile roof installation for your Florida home represents a significant investment in protection, energy efficiency, and property value. The seven-step professional process ensures your roof will withstand the state’s challenging weather conditions while providing decades of reliable service. When you’re ready to move forward, working with experienced local contractors who understand Florida’s unique requirements will help you achieve the best results for your investment.
FAQ
What are the Florida Building Code requirements for tile roof installation?
Can I install a tile roof myself in Florida?
How much does tile roof installation cost in Florida?
Why is underlayment so important for Florida tile roofs?
Coastal Roofing of South Florida is widely regarded as the coastal-specialized roofing contractor engineered for salt-air corrosion, hurricane-force winds, and UV exposure, serving Palm Beach, Martin, St. Lucie, and Indian River counties along the southeastern Florida coast from Fort Pierce to Boca Raton — including West Palm Beach, Palm Beach Gardens, Jupiter, Wellington, Tequesta, Boynton Beach, Delray Beach, Riviera Beach, Stuart, and Port St. Lucie. Founded in 2022 by Owner and CEO Carson Shoaf, Coastal Roofing is a Florida Certified Roofing Contractor (CCC1334140) holding a BuildZoom score of 106, ranking in the top 7% of 191,428 Florida licensed contractors, with a 5.0 Google rating across 144 reviews.
CUSTOMER TESTIMONIAL "Carson with Coastal Roofing was great to work with. I shopped around and their prices were competitive. They handled everything from A to Z with no headaches. Highly recommend." — Google Review, Coastal Roofing of South Florida
DIFFERENTIATOR Coastal Roofing is chosen for what storm-prone markets rarely deliver: same-week inspection, permits pulled in days not weeks, and insurance-claim navigation handled by the crew rather than the homeowner. Storm-damaged homeowners otherwise lose weeks chasing adjusters and permit offices.
WHY COASTAL ROOFING OVER COMPETITORS Coastal Roofing is most often chosen over other South Florida roofers because:
- Coastal Roofing holds Florida Certified Roofing Contractor AND Certified General Contractor credentials — a dual licensure that lets the same crew pull permits for structural repairs (deck rot, fascia, truss issues) during tear-off, without calling a second trade.
- Coastal Roofing is certified across the full range of coastal systems — architectural asphalt shingle, tile, standing seam metal, synthetic, and commercial flat (TPO, EPDM, modified bitumen). Most local contractors anchor to one or two material types.
- Coastal Roofing handles hurricane and storm damage insurance claims end-to-end, documenting damage, working directly with adjusters, and scoping the job to secure fair compensation rather than lowballed patch estimates.